Archive for the 'music' Category

SID-emulator on Arduino

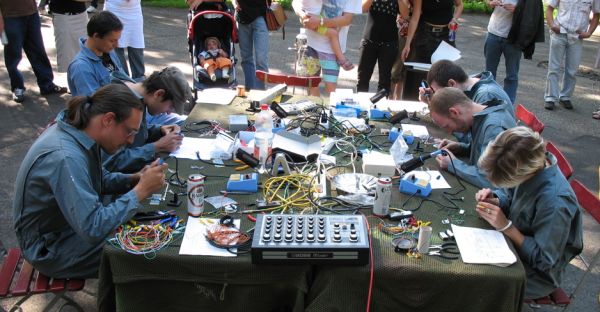
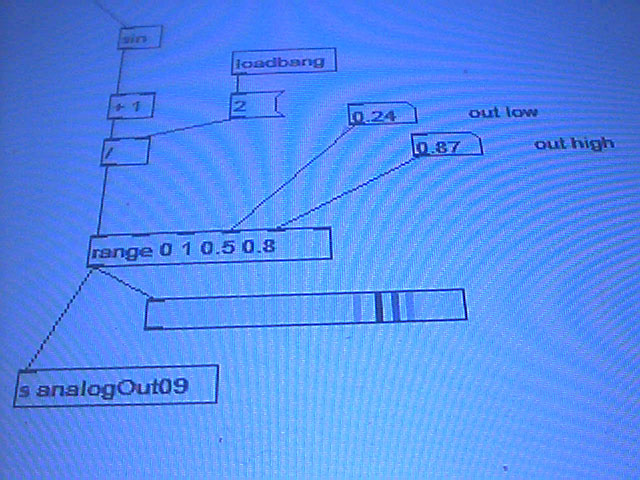
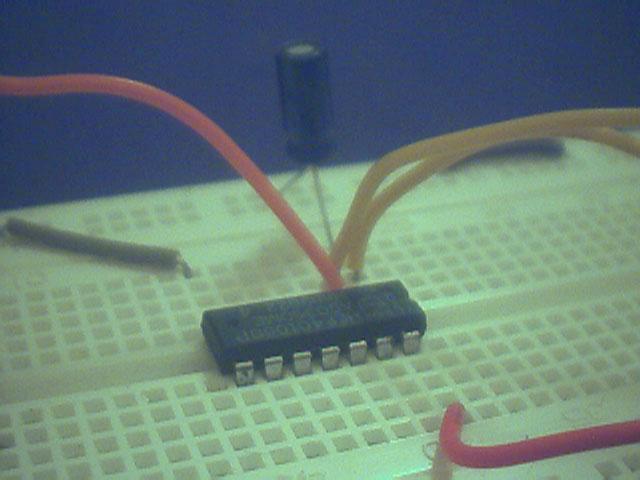
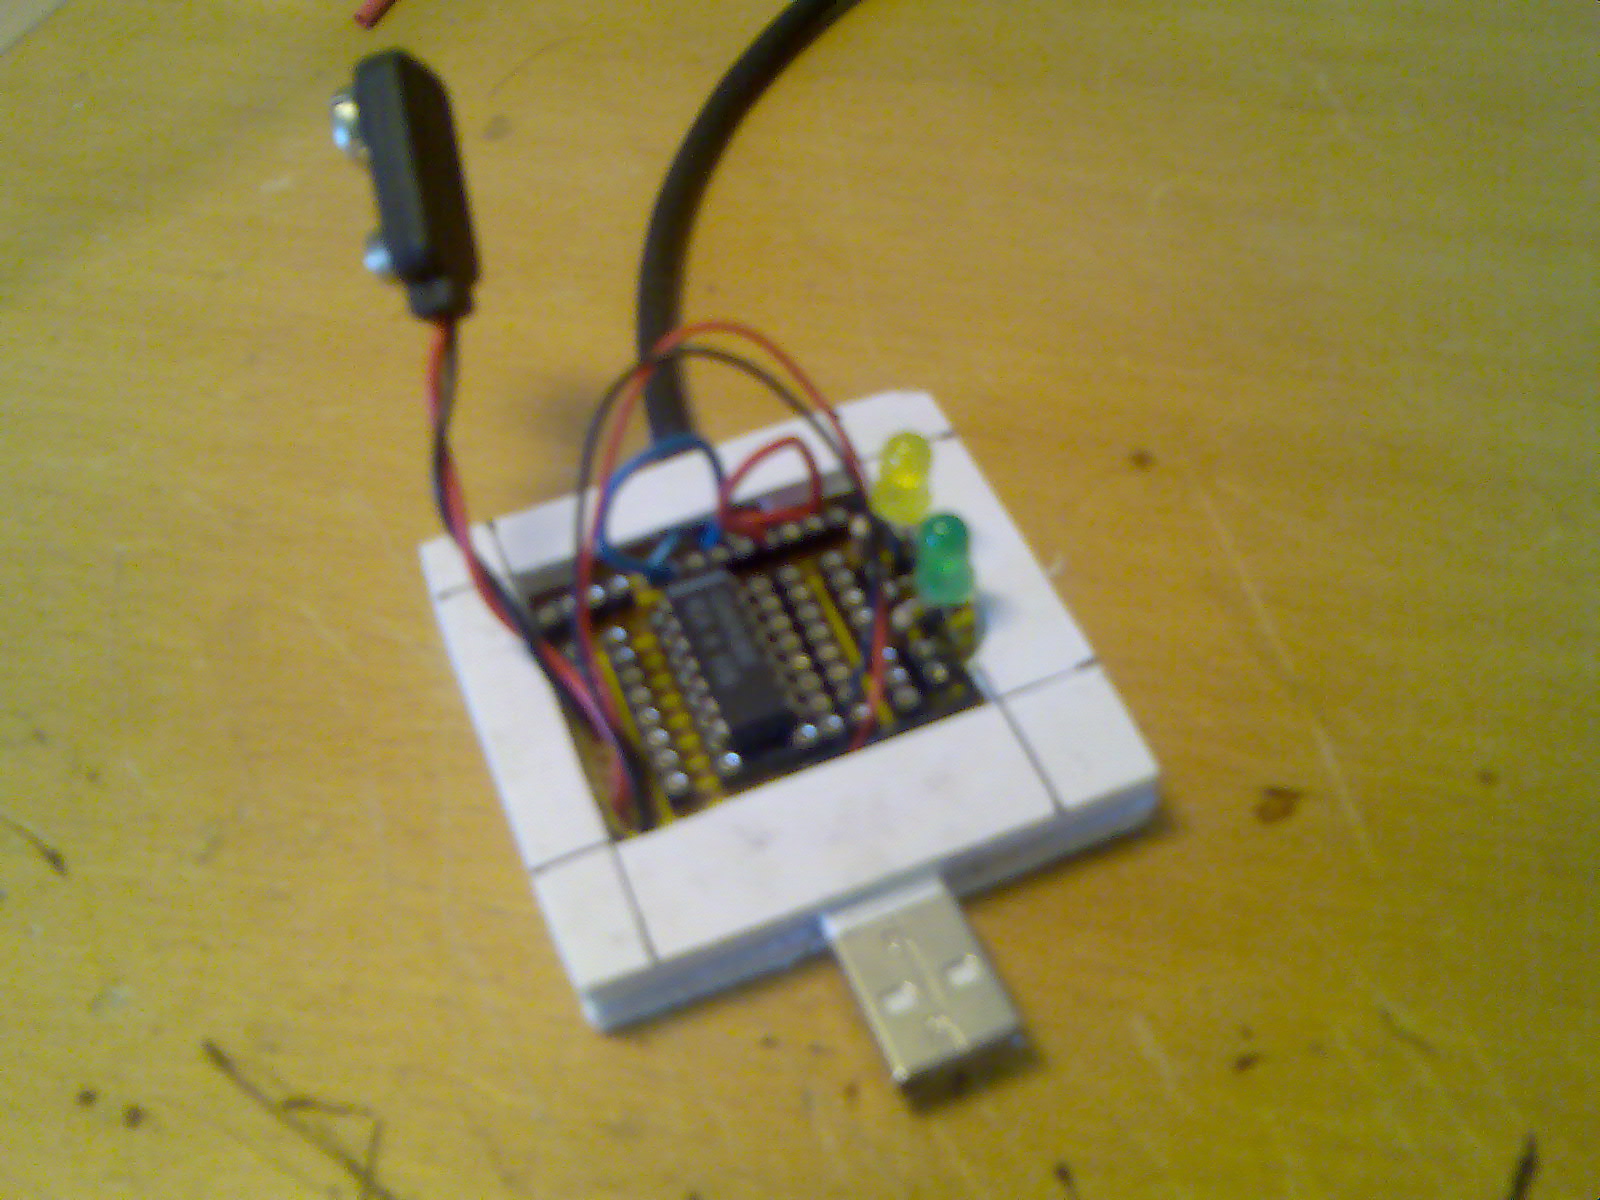
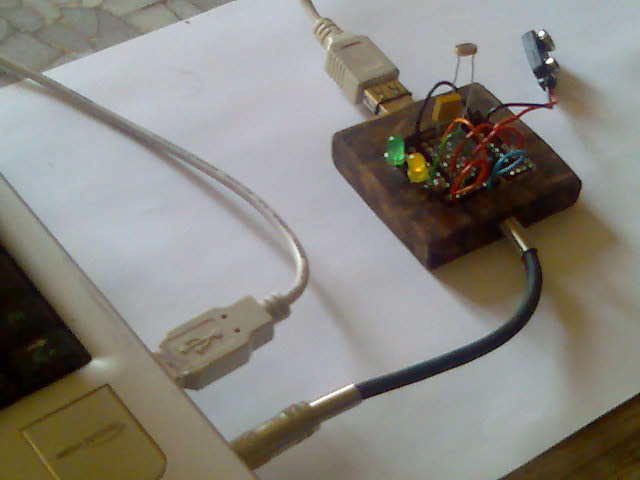
we have been busy developing a new musical instrument for lo-fi 8bit cranky sounds. nnnnnnniiice.

all the work was done during the SGMK workshopin lenk in collaboration with c. haberer and c. stähli.
thanx also to dani reichmuth for all the help using the eagle software.

work still in progress... see the arduino playground

H2Ohm - diy kamikazee group

just had my first performance as a member of the diy kamikazee group.

h2ohm@lesDigitales

at les digitales in la chauds-de-fonds

see some pictures

or listen to the sound on the namshub page soon. (go downloads diy-k...)

there is gonna be another opportunity to see our LIVE-Soldering action in zurich, walcheturm. on the 26th of september. go to ganzerplatz for more infos

How to control a resistor (or a potentiometer) using Arduino

Many times I asked myself how to control my simple noise-electronic-circuits by a computer. Most of these instruments are hacked toys or small circuits on which i can either switch on and off an effect or change one by the use of a potentiometer.

potientiometers in circuitbent toy

and it would be great to have them played by a midi-clocked software or to create fancy high speed effects on the potis/resistors, which no human fingers could ever do.

So what we need is an Digital to Potentiometer/Resistor device.

arduino_resistor_control

The Arduino board suits perfect for that! because it already has several Digital-to-Analog inputs and outputs and vice-versa. There is many tutorials out there, but I couldnt find what i wanted.

So how can we use the Arduino's outputs to control a resistor?

The answer is pretty simple: we can use one of the PWD analog outputs to control an LED, which is situated next to a photoresistor.

LED photoresistor pair

The picture shows such an example. its generally better though to put it inside a opaque casing, tape or some shrinkable wire, but to show it here i have ommited the case.

Remember to put a resistor in series with the LED to keep it alive. Of course some tuning needs to be done, by choosing the right LED/photoresistor pair . There are really bright LEDs or cheap ones and the photoresistors have different ranges and finally also the distance and the casing are crucial.

Using any software to control the Arduino PWD output we can dimm the LED and thus we can now change the resistivity of the photoresistor.

I used PureData to control the arduino outputs. and made a simple patch to oscillate the resistivity of the photoresistor.

pd patch to oscillate the resistivity


finally i used the resistor in a very simple circuit using a CMOS chip (40106). by a resistor and a capacitor a square wafe oscillator can be built, where the resistance controls the pitch/frequency.

40106

Minimodular MK II - prototype finished

this is the new prototype
dusjagr's Minimodular MK II- Vintage edition

see the old entry for the first prototype....

similiar design, with integrated LEDs.

bild064.jpg
and a beautiful wooden casing....

Minimodular MK II - Vintage Edition